
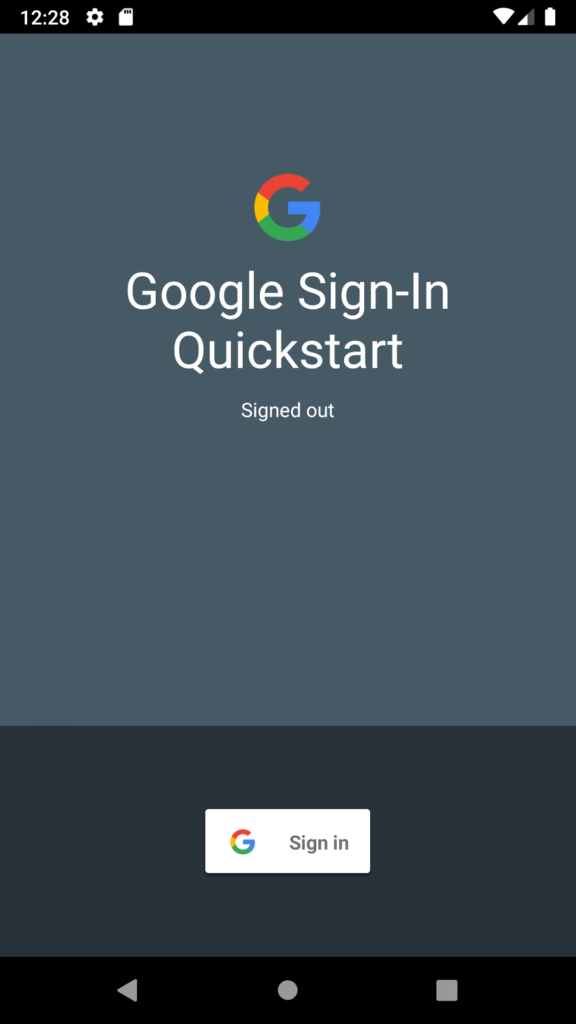
1. Overview
In this article, we will learn to integrate Google Sign-In into your Android app. Here, we will use the new Google Identity Services (GIS) APIs that provide users easy sign-in and sign-up, in an easy-to-implement package for developers.
We can use this API instead of the existing Google Sign-In APIs for sign-in flows which could be deprecated anytime soon.
2. Prerequisites to integrate Google sign-in flow
- A compatible Android device that runs Android 4.4 or newer and includes the Google Play Store
- Google Play services version 15.0.0 or newer.
- A project configured to compile against Android 4.4 (KitKat) or newer.
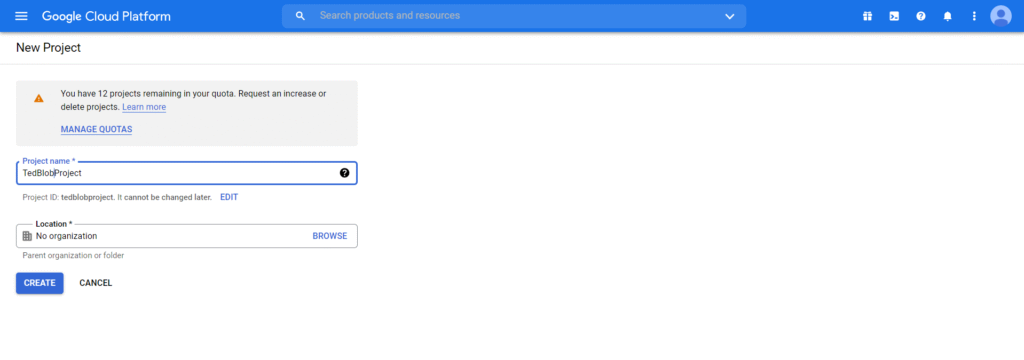
3. Configure project in Google API console
First, navigate to Google console and create a new project or select an existing project which you like to configure with Google Identity services.
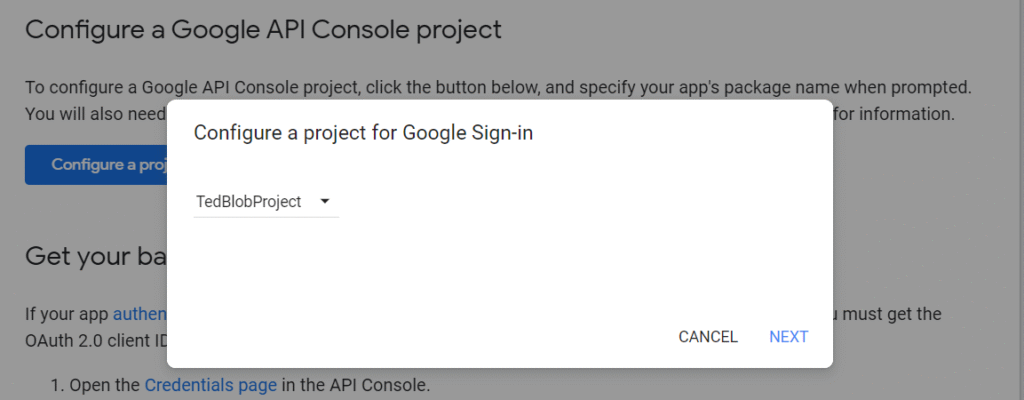
After creating the project, configure the project by following the instructions mentioned here.
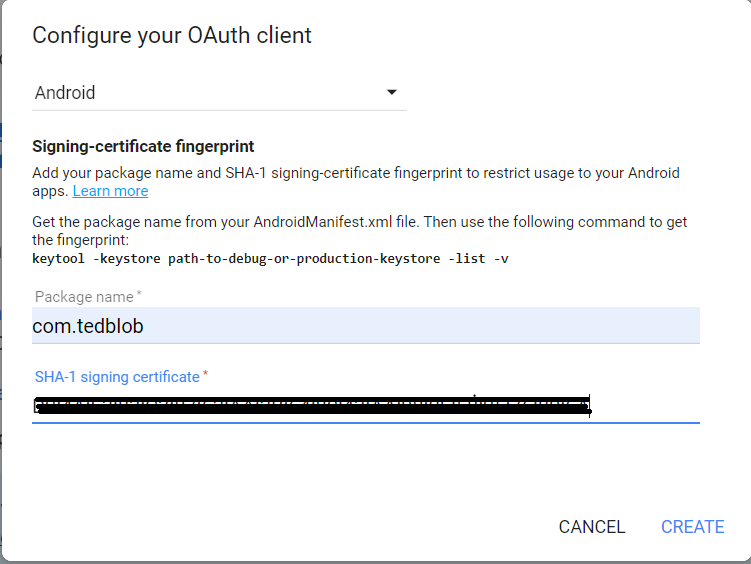
You had to specify your app’s package name and SHA-1 hash of your signing certificate.
SHA-1 of debug Keystore
C:\Program Files\Java\jdk-17\bin> keytool -list -v -alias androiddebugkey -keystore "C:\Users\Gayu Siva\.android\debug.keystore"
The default password of debug Keystore is “android”.
You can also tap on Grable in the right-side panel of Android Studio:
app/Tasks/android/signingReport
Double click on the signingReport to trigger the build process. You can get the SHA1 key under the Run tab in the bottom panel after a successful build.
SHA-1 of prod Keystore
keytool -list -v \
-alias <alias> -keystore <path-to-production-keystore>
See Authenticating Your Client for information on how to get SHA-1 hash.
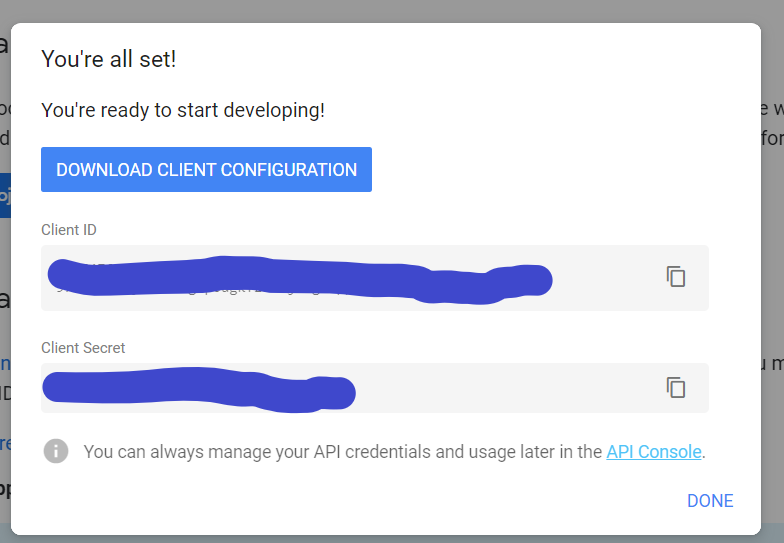
After you finish updating the details, you would get the client configuration (client id and secret) which authenticates your application with Google Identity services.
4. Integrate Google Sign-In into Android app
4.1. Dependencies
To use the Google Identity services, you need to add the following dependency.
// Dependency for Google Sign-In
implementation 'com.google.android.gms:play-services-auth:19.2.0'
Since the startIntentSenderForResult is deprecated, you can use the new Activity Result APIs as an alternative to launch the Google Sign-In flow asynchronously and get back the result.
// Dependency for Activity Result APIs
implementation 'androidx.activity:activity-ktx:1.4.0'
implementation 'androidx.fragment:fragment-ktx:1.4.0'
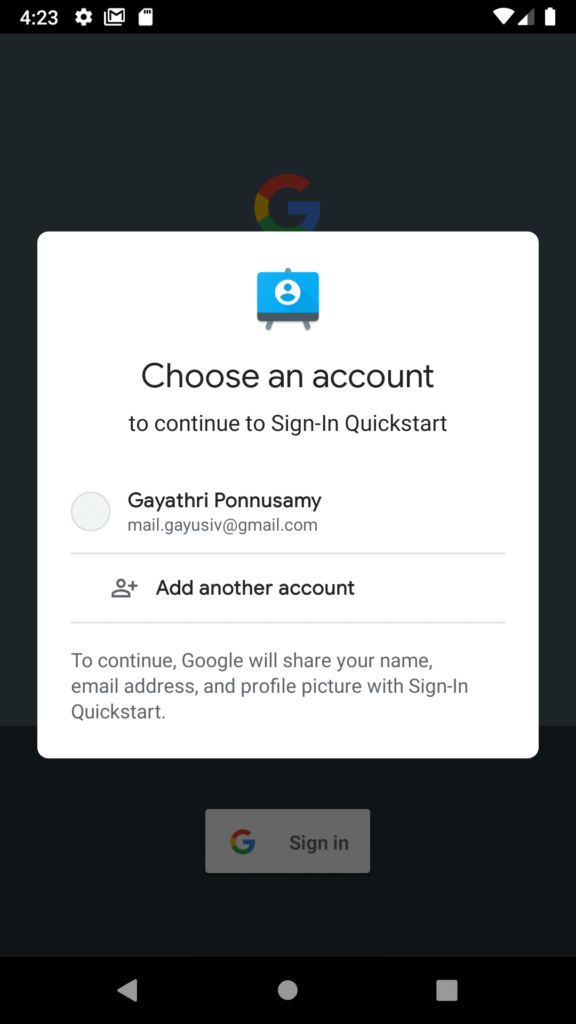
4.2. Make a sign-in request and process result
First, build an ActivityResultLauncher with StartIntentSenderForResult contract. The Google Sign-In flow returns the result back to the callback of the ActivityResultLauncher. See ActivityResult API for more information.
The result data would contain the Gmail, Name, so on of the logged-in account.
private ActivityResultLauncher<IntentSenderRequest> loginResultHandler =
            registerForActivityResult(new ActivityResultContracts
                            .StartIntentSenderForResult(),
                    result -> {
                Task<GoogleSignInAccount> task = GoogleSignIn.getSignedInAccountFromIntent(result.getData());
                handleSignInResult(task);
    });
To launch a Google Sign-In flow using the Identity API, build an GetSignInIntentRequest object using the client id. Remember, we have already retrieved this client id while configuring the project in the Google console.
GetSignInIntentRequest request =
                GetSignInIntentRequest.builder()
                        .setServerClientId(getString(R.string.server_client_id))
                        .build();
Then, pass the GetSignInIntentRequestgetSignInIntent method of Identity class. This call is async and on success, it will provide a PendingIntent to launch the Google sign-in flow dialog.
You can use loginResultHandler Activity Launcher to launch the sign-in flow. The launcher takes an IntentSenderRequest, which must be constructed using an IntentSenderRequest.Builder.
private void signIn() {
        Identity.getSignInClient(this)
                .getSignInIntent(request)
                .addOnSuccessListener(
                        result -> {
                            IntentSenderRequest intentSenderRequest = new IntentSenderRequest.Builder(result.getIntentSender())
                                    .build();
                            loginResultHandler.launch(intentSenderRequest);
                        })
                .addOnFailureListener(
                        e -> {
                            Log.e(TAG, "Google Sign-in failed", e);
                        });
    }
4.3. Get existing account details
If the user is already signed in, then you can get the account details by using the getLastSignedInAccount method.
// Check for existing Google Sign In account, if the user is already signed in
// the GoogleSignInAccount will be non-null.
GoogleSignInAccount account = GoogleSignIn.getLastSignedInAccount(this);
4.4. Sign out Google account from your Android app
You can use signOut method to allow the users to sign out of their Google account from your application.
mGoogleSignInClient.signOut()
                .addOnCompleteListener(this, new OnCompleteListener<Void>() {
                    @Override
                    public void onComplete(@NonNull Task<Void> task) {
                        // [START_EXCLUDE]
                        updateUI(null);
                        // [END_EXCLUDE]
                    }
                });
5. Conclusion
To sum up, we have learned to integrate the Google sign-in flow into our application.
